Bitbucket
note: To use this integration, you will need to be on a Team plan or higher. Read about upgrading here.
Bitbucket setup instructions
-
Click "Integrations" from the Raygun sidebar and select Bitbucket.
-
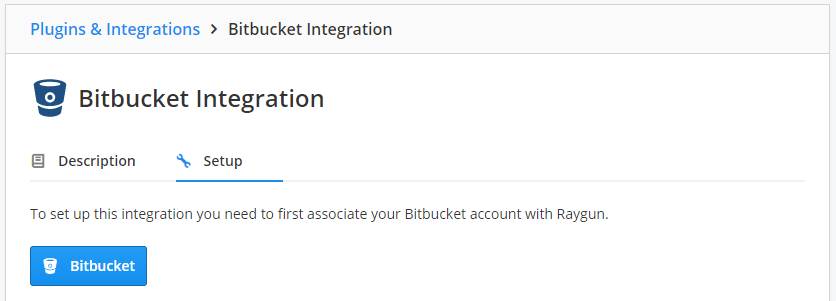
Click the "Setup" tab and follow the on-screen instructions to complete the authorization process and select your prefered repository.
Add to a Bitbucket issue
-
To allow Raygun error groups to be linked to Bitbucket issues go to your Bitbucket repository click 'Settings' on the left sidebar, and click the 'Issue tracker settings' option.
-
Click on a Raygun error group.
-
Click the "Integrations" button and select "Bitbucket" to link to a new or existing issue.

Deployment tracking
The Bitbucket integration supports deployment tracking, which means:
- More detailed deployment information
- Ability to link your commits and release notes directly from Raygun to your source code
You do not need Bitbucket issue tracking to use this feature.
Creating a webhook in Bitbucket
By using a webhook resolving issues in Bitbucket will also resolve the linked Raygun error groups.
Setup instructions:
- Log into Bitbucket as a repository administrator
- Navigate to the repository linked to your Raygun application
- Click on 'Settings' located the left sidebar
- Click on 'Webhooks' located under the 'Integrations' section
- Click on the 'Add webhook' button and give your webhook a 'Title'
- In the 'URL', copy and paste the 'Bitbucket Webhook URL' found in your Raygun Bitbucket Setup tab
- Mark the 'Status' as 'Active'
- Leave the 'SSL / TLS' unchecked
- Set the 'Triggers' to 'choose from a full list of triggers'
- Check the 'updated' checkbox under 'Issue' and 'save' to finish