How to use Raygun with Xamarin Forms
Posted Sep 17, 2014 | 5 min. (870 words)This blog post is a simple tutorial to set up Raygun exception reporting in a Xamarin.Forms project. For those that don’t know, Xamarin.Forms allows you to write applications for iOS, Android and Windows Phone using C# .Net with common UI and logic that can be shared in all three platforms. Raygun is an exception reporting service that supports a multitude of different languages and frameworks including the full Xamarin stack.
By using Raygun in a Xamarin.Forms project, you and your team will be notified of exceptions occurring in your published applications. Exception reports include the stack trace, information about the device and any custom data you’ve sent to help you swiftly resolve bugs. Raygun provides valuable insight during development/debugging, beta testing and published applications.
Step 1 – Creating the project
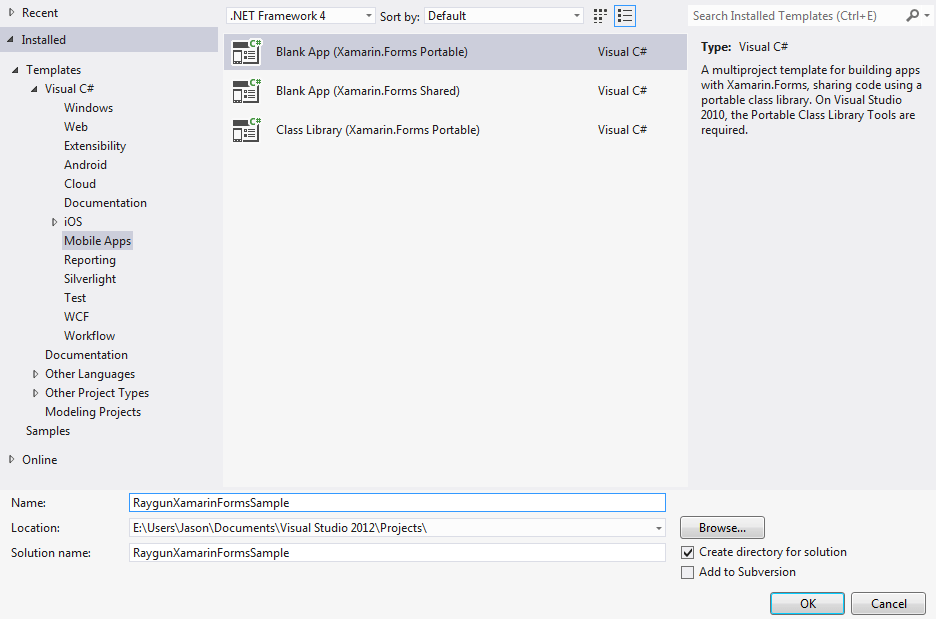
For this tutorial, I am using Visual Studio 2012 on a Windows 7 machine. The other option is to use Xamarin Studio on either a Windows machine or a Mac. In Visual Studio, create a new project and look for “Mobile Apps” under the “Visual C#” category. In the center of the dialog, select “Blank App (Xamarin.Forms Portable)”. Then enter a name for the solution, and hit OK. This will create a new solution containing a few projects – A portable class library to contain common code, and separate projects for iOS and Android.
Step 2 – Installation
Next we need to install Raygun4Net. There are two easy options for doing this – via NuGet, or the Xamarin Component Store.
NuGet
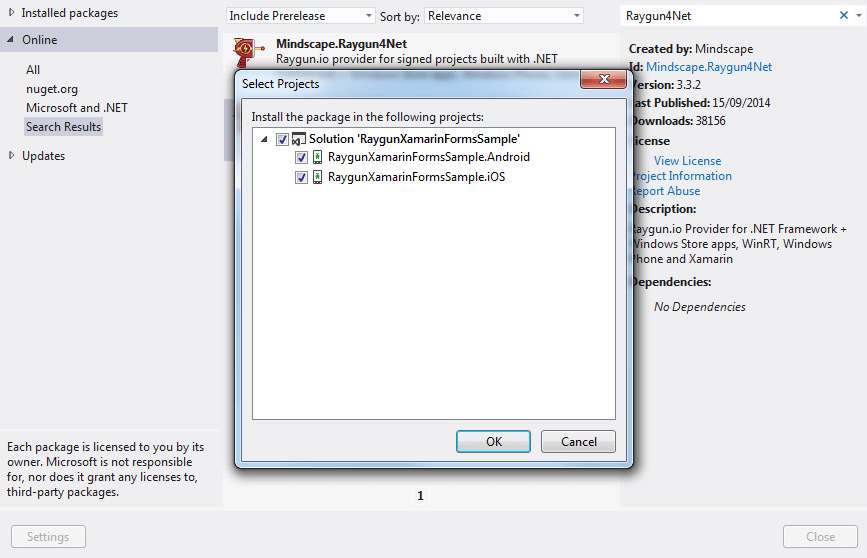
To use NuGet, right click the solution and select “Manage NuGet Packages…”. Search for Raygun4Net and then click the install button. This will bring up a small dialog box asking you to pick which projects to install Raygun4Net into. You want to install Raygun4Net into both the iOS and Android projects – these should both be selected by default, so click OK.
Xamarin Component Store
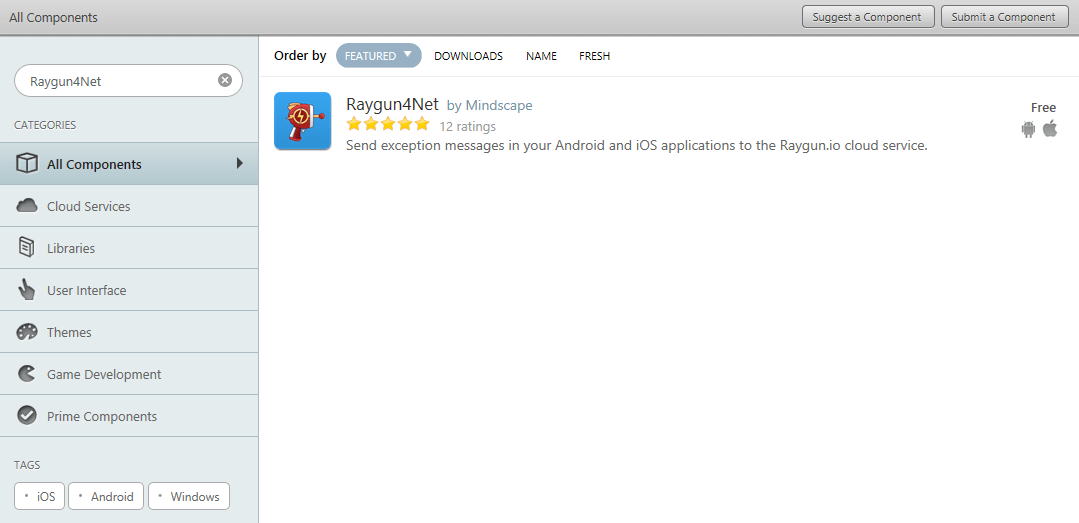
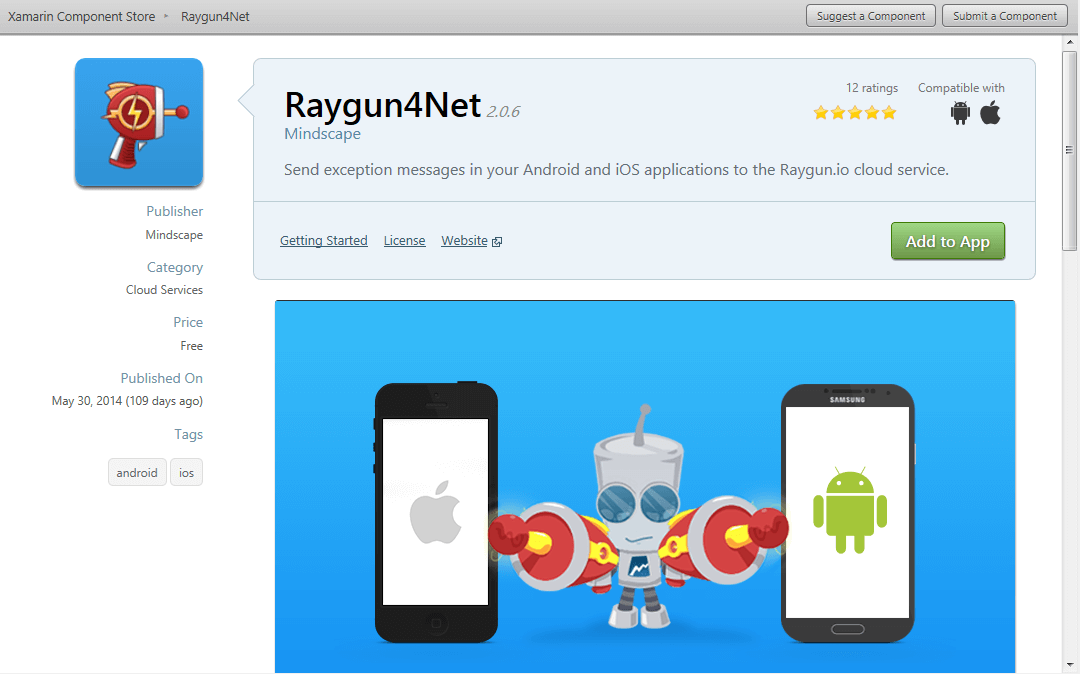
On the other hand, to get Raygun4Net from the Xamarin Component Store, right click on the “Components” folder within the iOS project and select “Edit Components…”. This will open a new tab in Visual Studio where you can manage Xamarin Components. In the top right corner of the tab, click the “Get More Components” button to view the Xamarin Component Store dialog. Search for Raygun4Net, click the search result and then hit the green “Add to App” button. Then repeat this for the Android project.
Step 3 – Attach the RaygunClient
With Raygun4Net installed, we now just need a single line of code in both the iOS and Android apps to set things up.
iOS – Call RaygunClient.Attach at the start of the Main method within the Main.cs file.
public class Application
{
  static void Main(string[] args)
  {
    // Set up Raygun:
    Mindscape.Raygun4Net.RaygunClient.Attach("YOUR_APP_API_KEY");

    UIApplication.Main(args, null, "AppDelegate");
  }
}
Android – Call RaygunClient.Attach near the start of the OnCreate method within the MainActivity.cs file.
[Activity(Label = "RaygunXamarinFormsSample", MainLauncher = true, ConfigurationChanges = ConfigChanges.ScreenSize | ConfigChanges.Orientation)]
public class MainActivity : AndroidActivity
{
  protected override void OnCreate(Bundle bundle)
  {
    base.OnCreate(bundle);

    // Set up Raygun:
    Mindscape.Raygun4Net.RaygunClient.Attach("YOUR_APP_API_KEY");

    Xamarin.Forms.Forms.Init(this, bundle);

    SetPage(App.GetMainPage());
  }
}
Step 4 – Get your API key
Now all you need is an API key to tell the Raygun service where to log your exception reports. Sign up or log into your Raygun account, then create or navigate to an application where you want to send exception reports. If it is a new application with no exception reports so far, then you’ll see the API key displayed near the top of the page. If the application does already have exception reports, you can find the API key by clicking “Application settings” in the side-bar menu.
Now, replace “YOUR_APP_API_KEY” in the iOS and Android code from the previous step with the real API key. You can either use the same API key for both the iOS and Android projects, or you could use a different API key so that exceptions get logged to different applications in your Raygun account – just do whatever works best for you and your team.
Step 5 – Send a test exception
To make sure everything has been wired up correctly, lets cause the application to crash and see that the exception comes up in your Raygun dashboard. To do this, I’ve replaced the default code of the GetMainPage method within App.cs of the shared PCL project. This displays a button which throws an exception when tapped. As this is in the shared project, it will be used by both the iOS and Android applications, so run them up on either a device or emulator to see that they send the exception report to your Raygun account.
public static Page GetMainPage()
{
  ContentPage page = new ContentPage();
  Button button = new Button
  {
    Text = String.Format("Crash!")
  };
  button.Clicked += (sender, args) =>
  {
    throw new Exception("An Exception! Good thing you're using Raygun :)");
  };

  page.Content = button;
  return page;
}
You can download the Visual Studio solution for this tutorial from here. To use this, make sure to replace “YOUR_APP_API_KEY” as described in step 4 above.
Want to get awareness of exceptions occurring in your published Xamarin Forms applications? Sign up for Raygun – 14 day free trial – no credit card required.